Expert Guide: How to See and Photograph the Northern Lights in Iceland
Photography Tips
Dreaming of witnessing the vibrant aurora borealis light up Iceland's night sky? Discover proven strategies to spot and capture stunning Northern Lights photos.
Seeing the Northern Lights, or aurora borealis, is a bucket-list adventure for travelers worldwide. With years of experience chasing and photographing them across multiple countries—including Iceland—I've honed reliable methods to maximize your success.
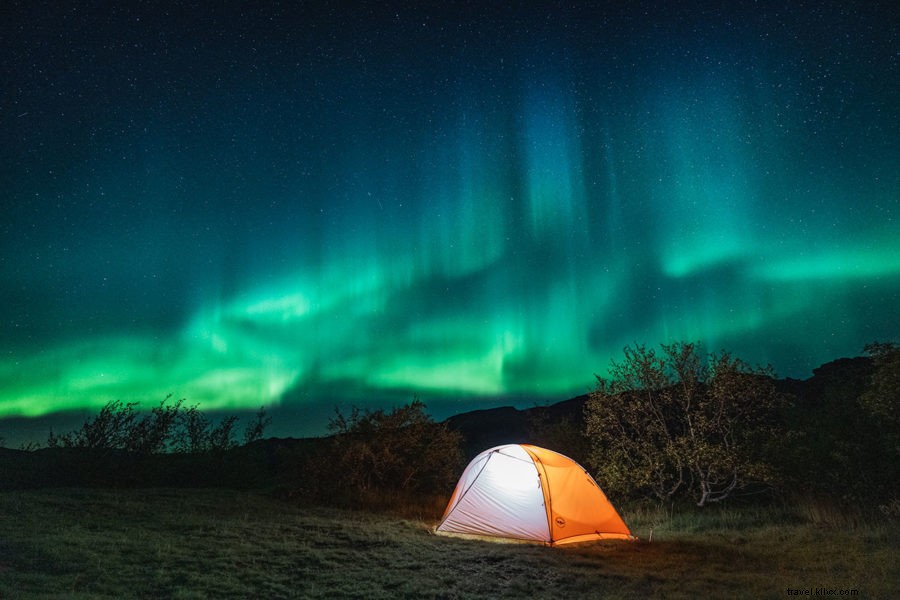
The ethereal green glow dancing over mountains or the ocean can captivate for hours. Prioritizing Northern Lights photography is essential during any Iceland trip.
Yet, this phenomenon is notoriously elusive and unpredictable.
This comprehensive guide shares my expert tips for finding the Northern Lights in Iceland, prime viewing spots, optimal camera settings, and post-processing techniques—drawn from real-world experience.
Northern Lights Photography Guide
How to Find the Northern Lights in Iceland
The challenge stems from aligning several key factors: dark skies, clear weather, and strong aurora activity. Strategic planning boosts your odds significantly.
Seek Dark Skies
Like stargazing, Northern Lights viewing thrives in total darkness. City light pollution from Reykjavik dims the display, so head to rural areas away from artificial lights for superior visibility.
Avoid Full Moon Phases
Lunar brightness washes out the aurora, so skip full moon nights. Time your hunt when the moon is below the horizon—use The Photographer’s Ephemeris app for global moonrise/moonset data.
A waxing crescent can softly illuminate foregrounds for dramatic compositions.
Prioritize Clear Skies
Clouds block the view entirely. Monitor forecasts closely, focusing on cloud cover via infrared satellite maps. MeteoEarth app excels for worldwide predictions.
Partial clouds may allow glimpses, but clear nights deliver the best shows.
Monitor Aurora Forecasts
Aurora strength ties to solar wind and Earth's magnetic field, measured by the KP Index (0-9). In Iceland, KP 3-4 offers chances; KP 5+ unleashes spectacular displays.
My Aurora Forecast Pro app sends push alerts for local activity. Space Weather Ovation provides global insights.
Self-Drive vs. Group Tours
Rent a car or camper van to escape light pollution independently. Winter driving demands snow experience due to harsh conditions.
I favor self-driving for flexibility—stay out all night or chase clear skies spontaneously.
For novices, reputable guided tours handle navigation safely.
Best Time to See Northern Lights
September to April offers optimal darkness, peaking November-February (despite stormier weather). Summer's near-constant daylight near the Arctic Circle makes sightings rare.
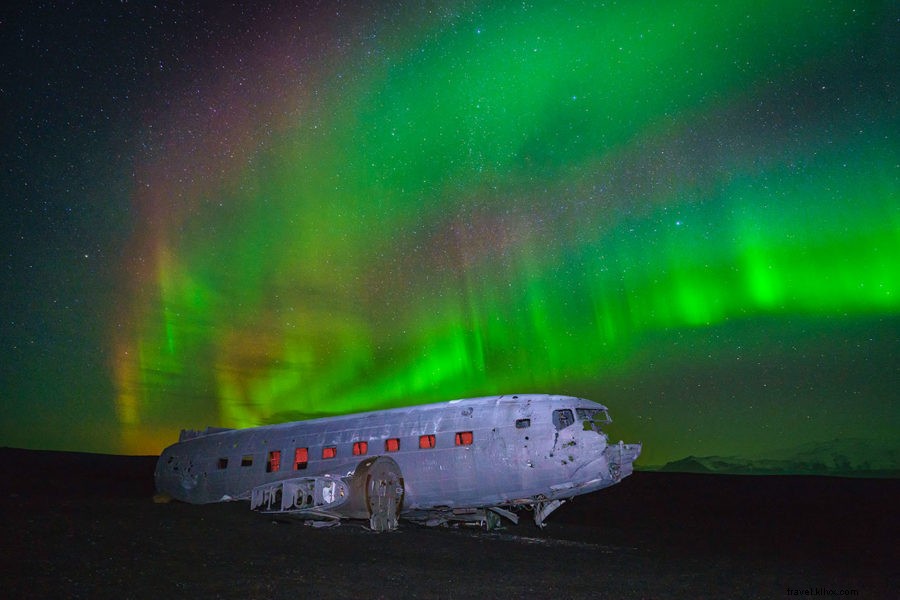
Combine extended stays (7+ days) with dark sites, clear skies, and activity for success. Reykjavik nightlife rarely yields views—dedicated night hunts are key, like my midnight plane wreck visit.
Where to Spot the Aurora
Prime zones: 68-74°N latitudes, including Iceland, northern Norway/Sweden/Finland, Greenland, Alaska, Canada, and Russia.
Look North!
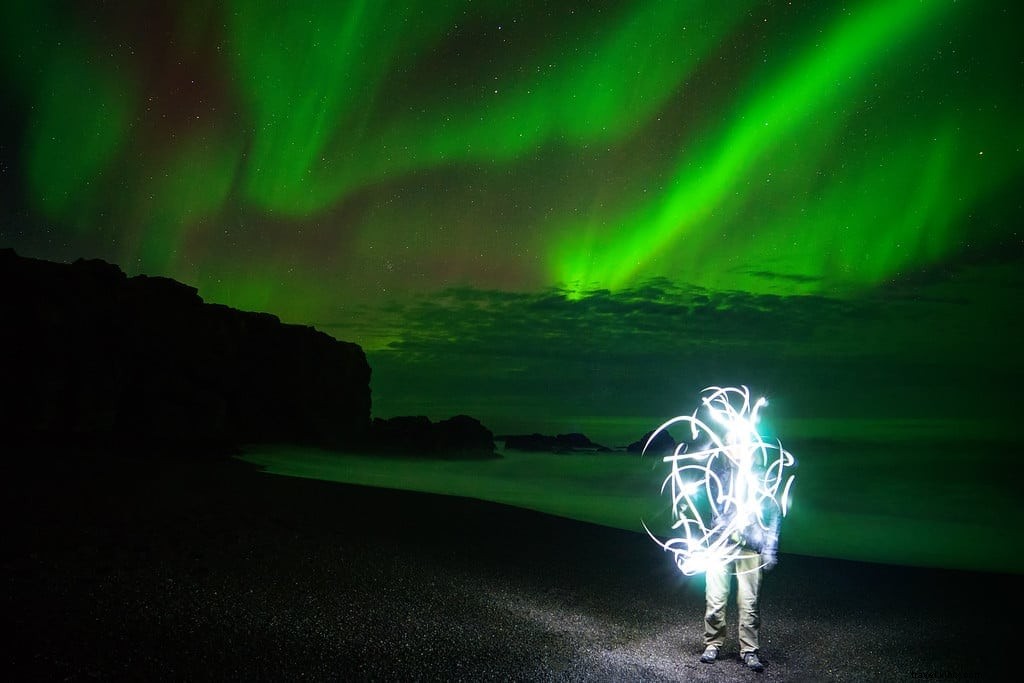
Auroras follow magnetic lines—face north. Faint displays appear gray (like clouds) to the eye; test with 20-second exposures. Green confirms aurora. Intensity dictates color brightness: green dominant, with rare blue/red/orange.
Northern Lights Photography Tips
Capturing the aurora demands specialized techniques. Here's my battle-tested advice.
Essential Gear
Low-light demands premium equipment:
- Manual-mode DSLR/mirrorless with high-ISO performance
- Wide-angle lens (24mm+, f/2.8-4.0)
- Robust tripod
- Extra batteries (cold drains them fast)
- Winter gear and hand warmers
Large sensors minimize noise; fast apertures maximize light; tripods enable sharp long exposures.
Night Focusing Technique
Focus on distant horizons (e.g., mountains) at dusk. Avoid infinity (∞) presets—fine-tune via live view zoom. Tape the ring post-focus; disable AF.
Video Tutorial: Photographing the Northern Lights
Subscribe to my YouTube Channel for Adventure Travel Videos!
(Click to watch Northern Lights 101 – How To Photograph The Aurora on YouTube)
Camera Settings
Watch the video for live demos.
Adapt dynamically in Manual mode:
RAW Format: Maximizes editing flexibility.
Aperture: Widest (f/2.8-4.0) for light intake.
Shutter: 2-13s; shorter for fast movement.
ISO: 1000-4000; balance light vs. noise.
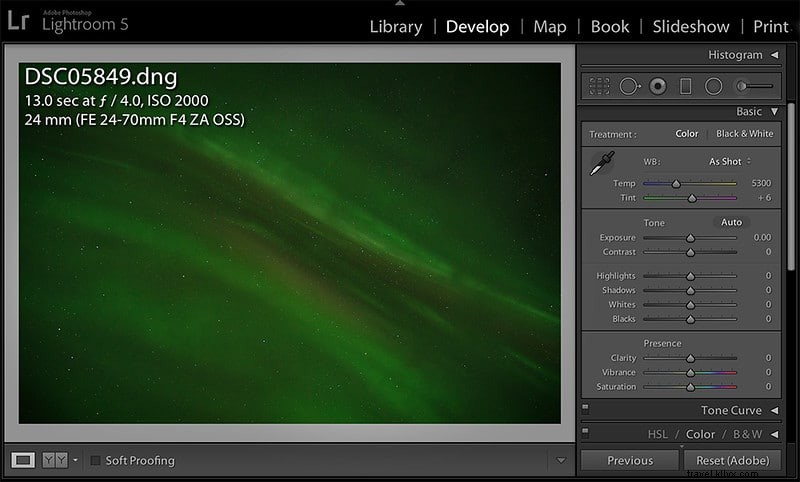
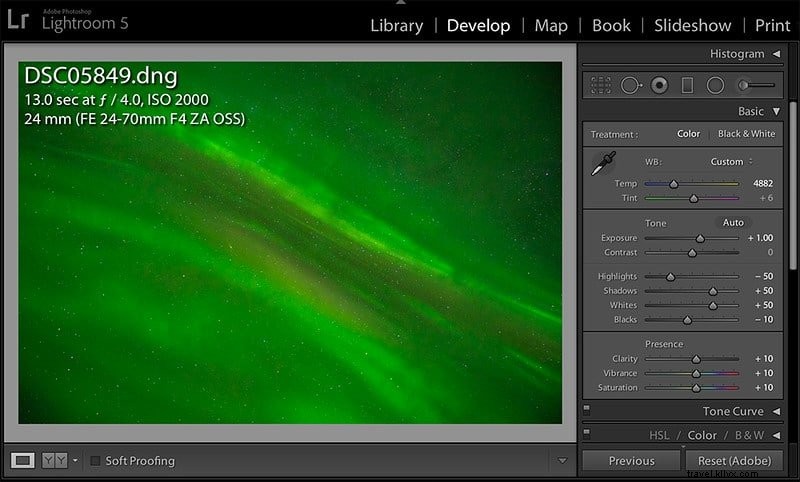
Post-Processing Essentials
Enhance in Lightroom/Photoshop:
- White balance tweak
- Boost exposure/shadows/whites
- Tame highlights
- Clarity, vibrance, saturation up
- Curves adjustment
- Noise reduction & sharpening
Happy Hunting!
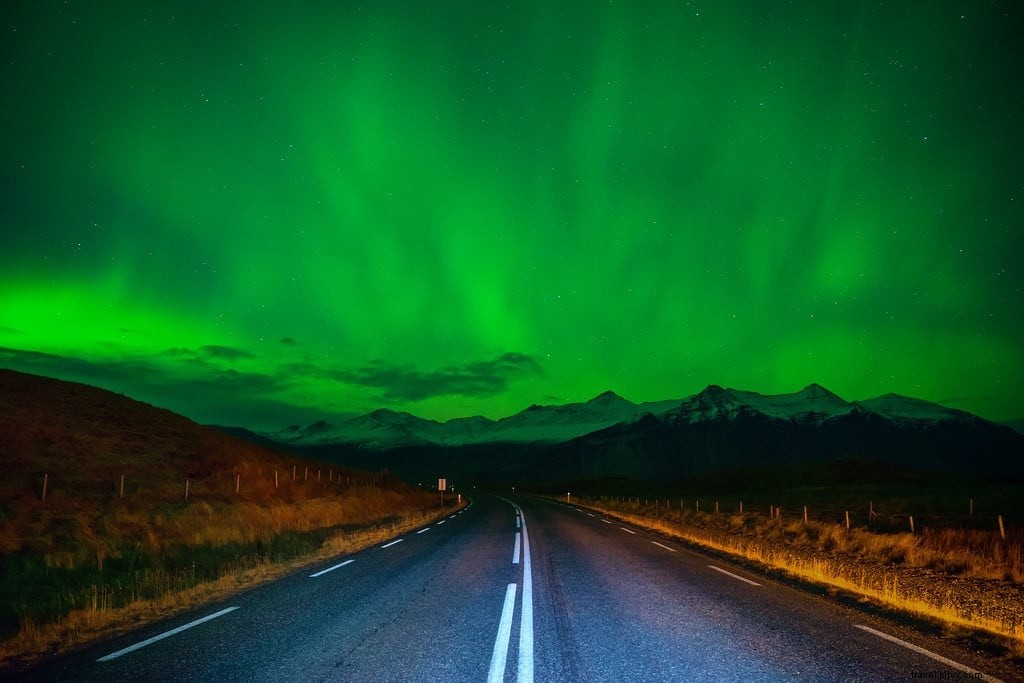
Captured on Ring Road fall trips, peaks lasted 10-15 minutes after hours of patience. Plan meticulously, persist through waits, and luck will align for magical Iceland aurora moments. ★