12 Expert Tips for Capturing Stunning Travel Photos with Your Smartphone
There's no need to invest hundreds in a professional camera—your smartphone is a powerful tool for creating breathtaking travel photos. With these proven tips from experienced photographers, you'll capture and edit images that rival pro results on your next adventure.
Unlock the full potential of your smartphone camera, whatever model you carry.
1. Activate the Camera Grid
Most smartphones offer a grid overlay in the camera app. Use it to apply the rule of thirds, positioning key elements along the lines or intersections for balanced, dynamic compositions that captivate viewers.
2. Invest in a Smartphone Lens
Clip-on lenses like those from Moment enhance your mobile photography. Compact and user-friendly, they deliver superior optics without the bulk, perfect for travel.
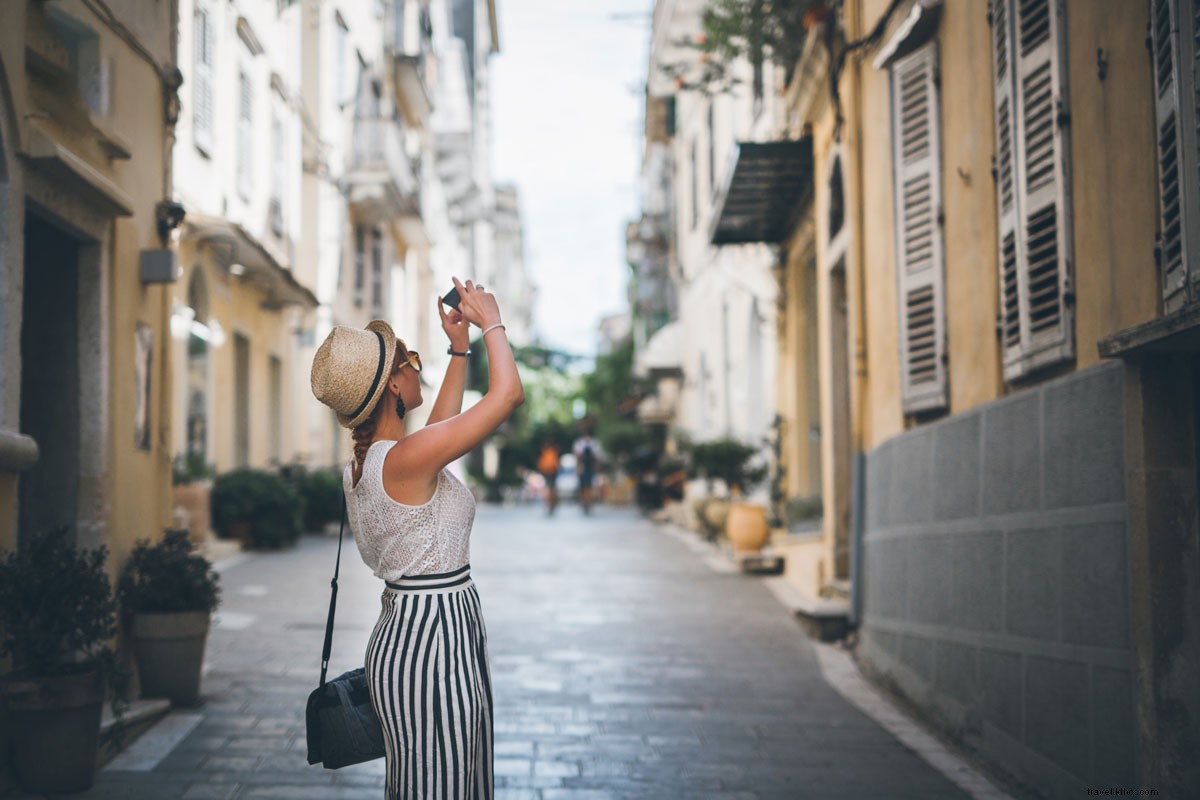
3. Shoot in Both Portrait and Landscape
Capture more scene with both orientations for flexible cropping later—into squares or other formats. Pro tip: Apps like Moment display a square overlay in landscape mode to preview crops instantly.
4. Skip Digital Zoom
Digital zoom degrades image quality on phones lacking optical zoom. Instead, move physically closer to your subject for sharper, professional-grade results.
5. Ditch the Flash and Embrace Natural Light
Built-in flash creates harsh shadows. Opt for natural, low light or enable HDR mode to balance highlights and shadows (e.g., preserving a bright sky over a dark landscape). Hold steady—HDR requires a longer exposure.
6. Choose Top Editing Apps
Elevate your photos with intuitive apps like VSCO, Adobe Lightroom Mobile, or Priime. Their user-friendly interfaces make pro-level edits accessible to all.
7. Master Highlights, Shadows, and Contrast
Brighten shadows slightly and darken highlights to reveal details without losing drama. Boost contrast modestly for a polished look. Bonus: Always clean your lens for inherently crisper shots.
8. Make Colors Pop with Sharpening and Saturation
Cool the image's warmth for a bluer tone, then increase saturation—warm hues like reds and oranges will stand out vibrantly. Add sharpening for that high-end, professional edge.
9. Follow the 50% Rule
When adjusting warmth or saturation, limit changes to 50% to avoid over-editing. This ensures natural, balanced enhancements.
10. Seek Inspiration from Pros
Follow Instagram accounts like @CaptureMinnesota, @igobyblue, @moment, @wanderthemap, and @stayandwander. Discover fresh angles, overlooked subjects, and minimalist techniques while scrolling.
11. Embrace Negative Space
Incorporate empty areas like skies, water, fields, or walls to isolate your subject, creating impactful, emotionally resonant images.
12. Hunt for Symmetry and Leading Lines
Align elements symmetrically using gridlines for visual harmony. Leading lines—roads, stairs, paths—guide the eye, adding depth and professionalism to everyday scenes.