5 Expert Tips to Capture Stunning Travel Photos with Your iPhone
Smartphones have revolutionized travel photography, often replacing bulky DSLRs. Recent trips with friends revealed a trend: despite carrying professional cameras, most reach for their iPhone for quick, high-quality shots.
Many travelers now rely solely on smartphones like the iPhone or Samsung Galaxy, thanks to compact size, lighter weight, and dramatic improvements in image quality and features over the years.
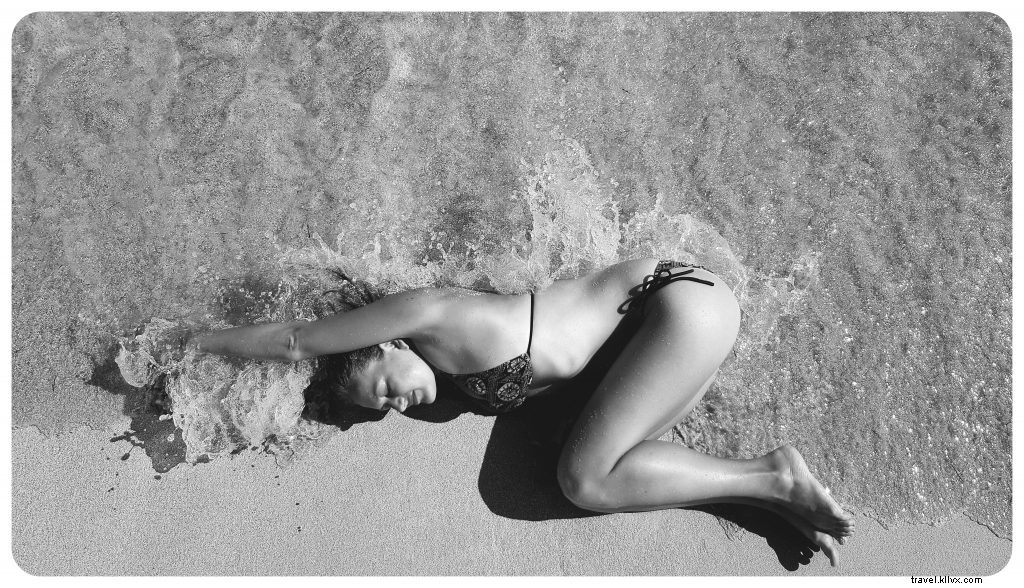 This professional-looking photo was captured on a smartphone.
As iPhone photos increasingly become cherished vacation memories—printed in photo books or on canvases—optimizing them is essential. Even without pro skills, these five proven tips will elevate your iPhoneography to new heights.
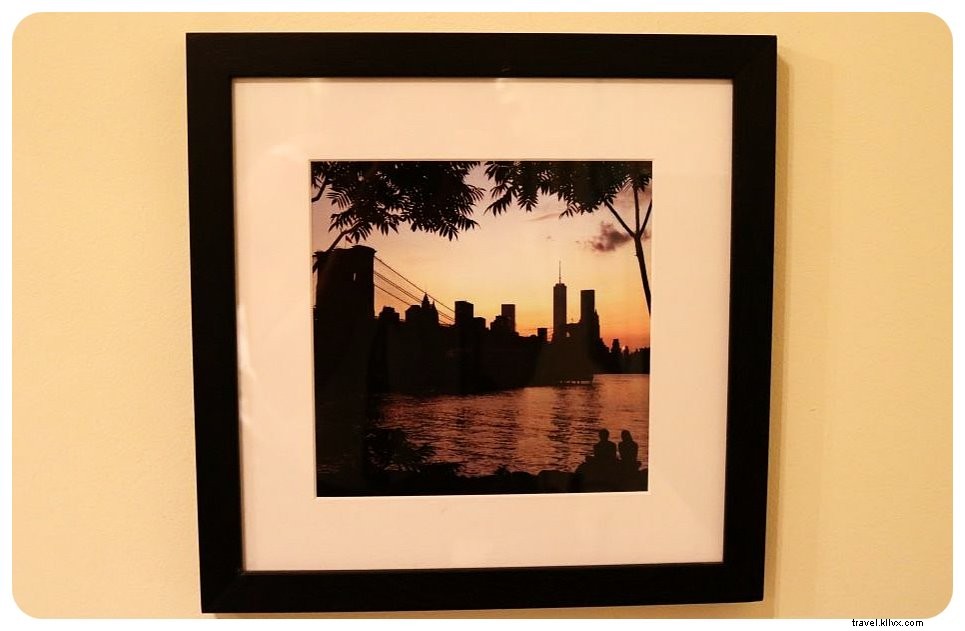 Turn iPhone shots into wall art for your home.
1. Master Your iPhone's Camera Features
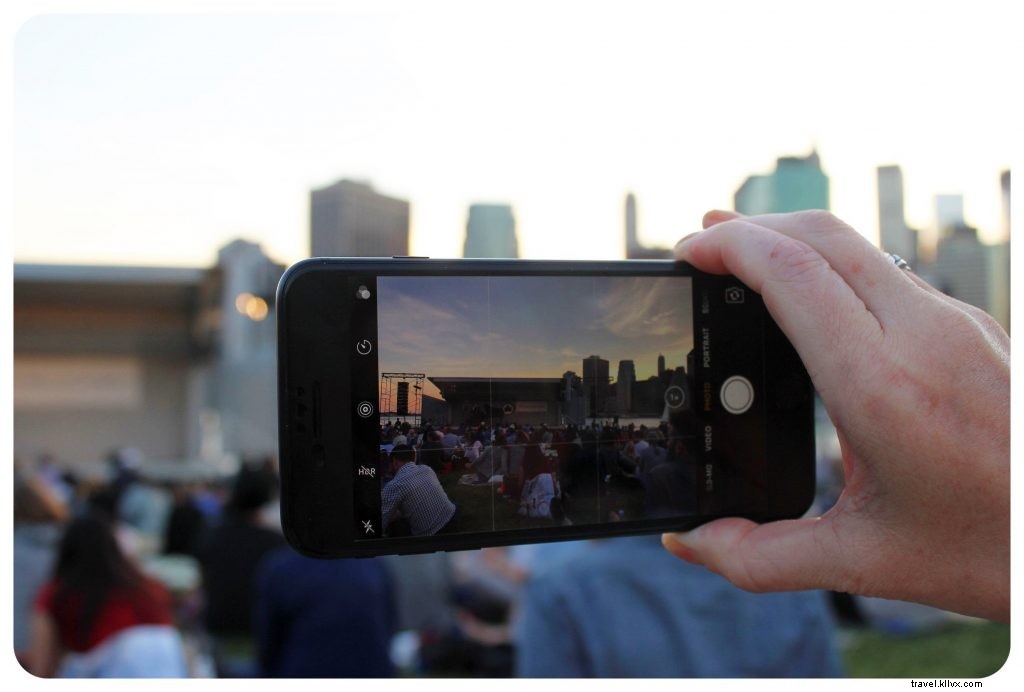
Fully explore your phone's camera capabilities. Each new iPhone model brings advanced functions—ensure you're using them effectively.
For instance, the iPhone 7 introduced DSLR-like portrait mode with bokeh effects and an improved 4-LED flash for sharper low-light shots. Experiment with HDR, preset filters, manual exposure adjustments, and formats like panoramic or square. Dedicate time to test these for optimal results.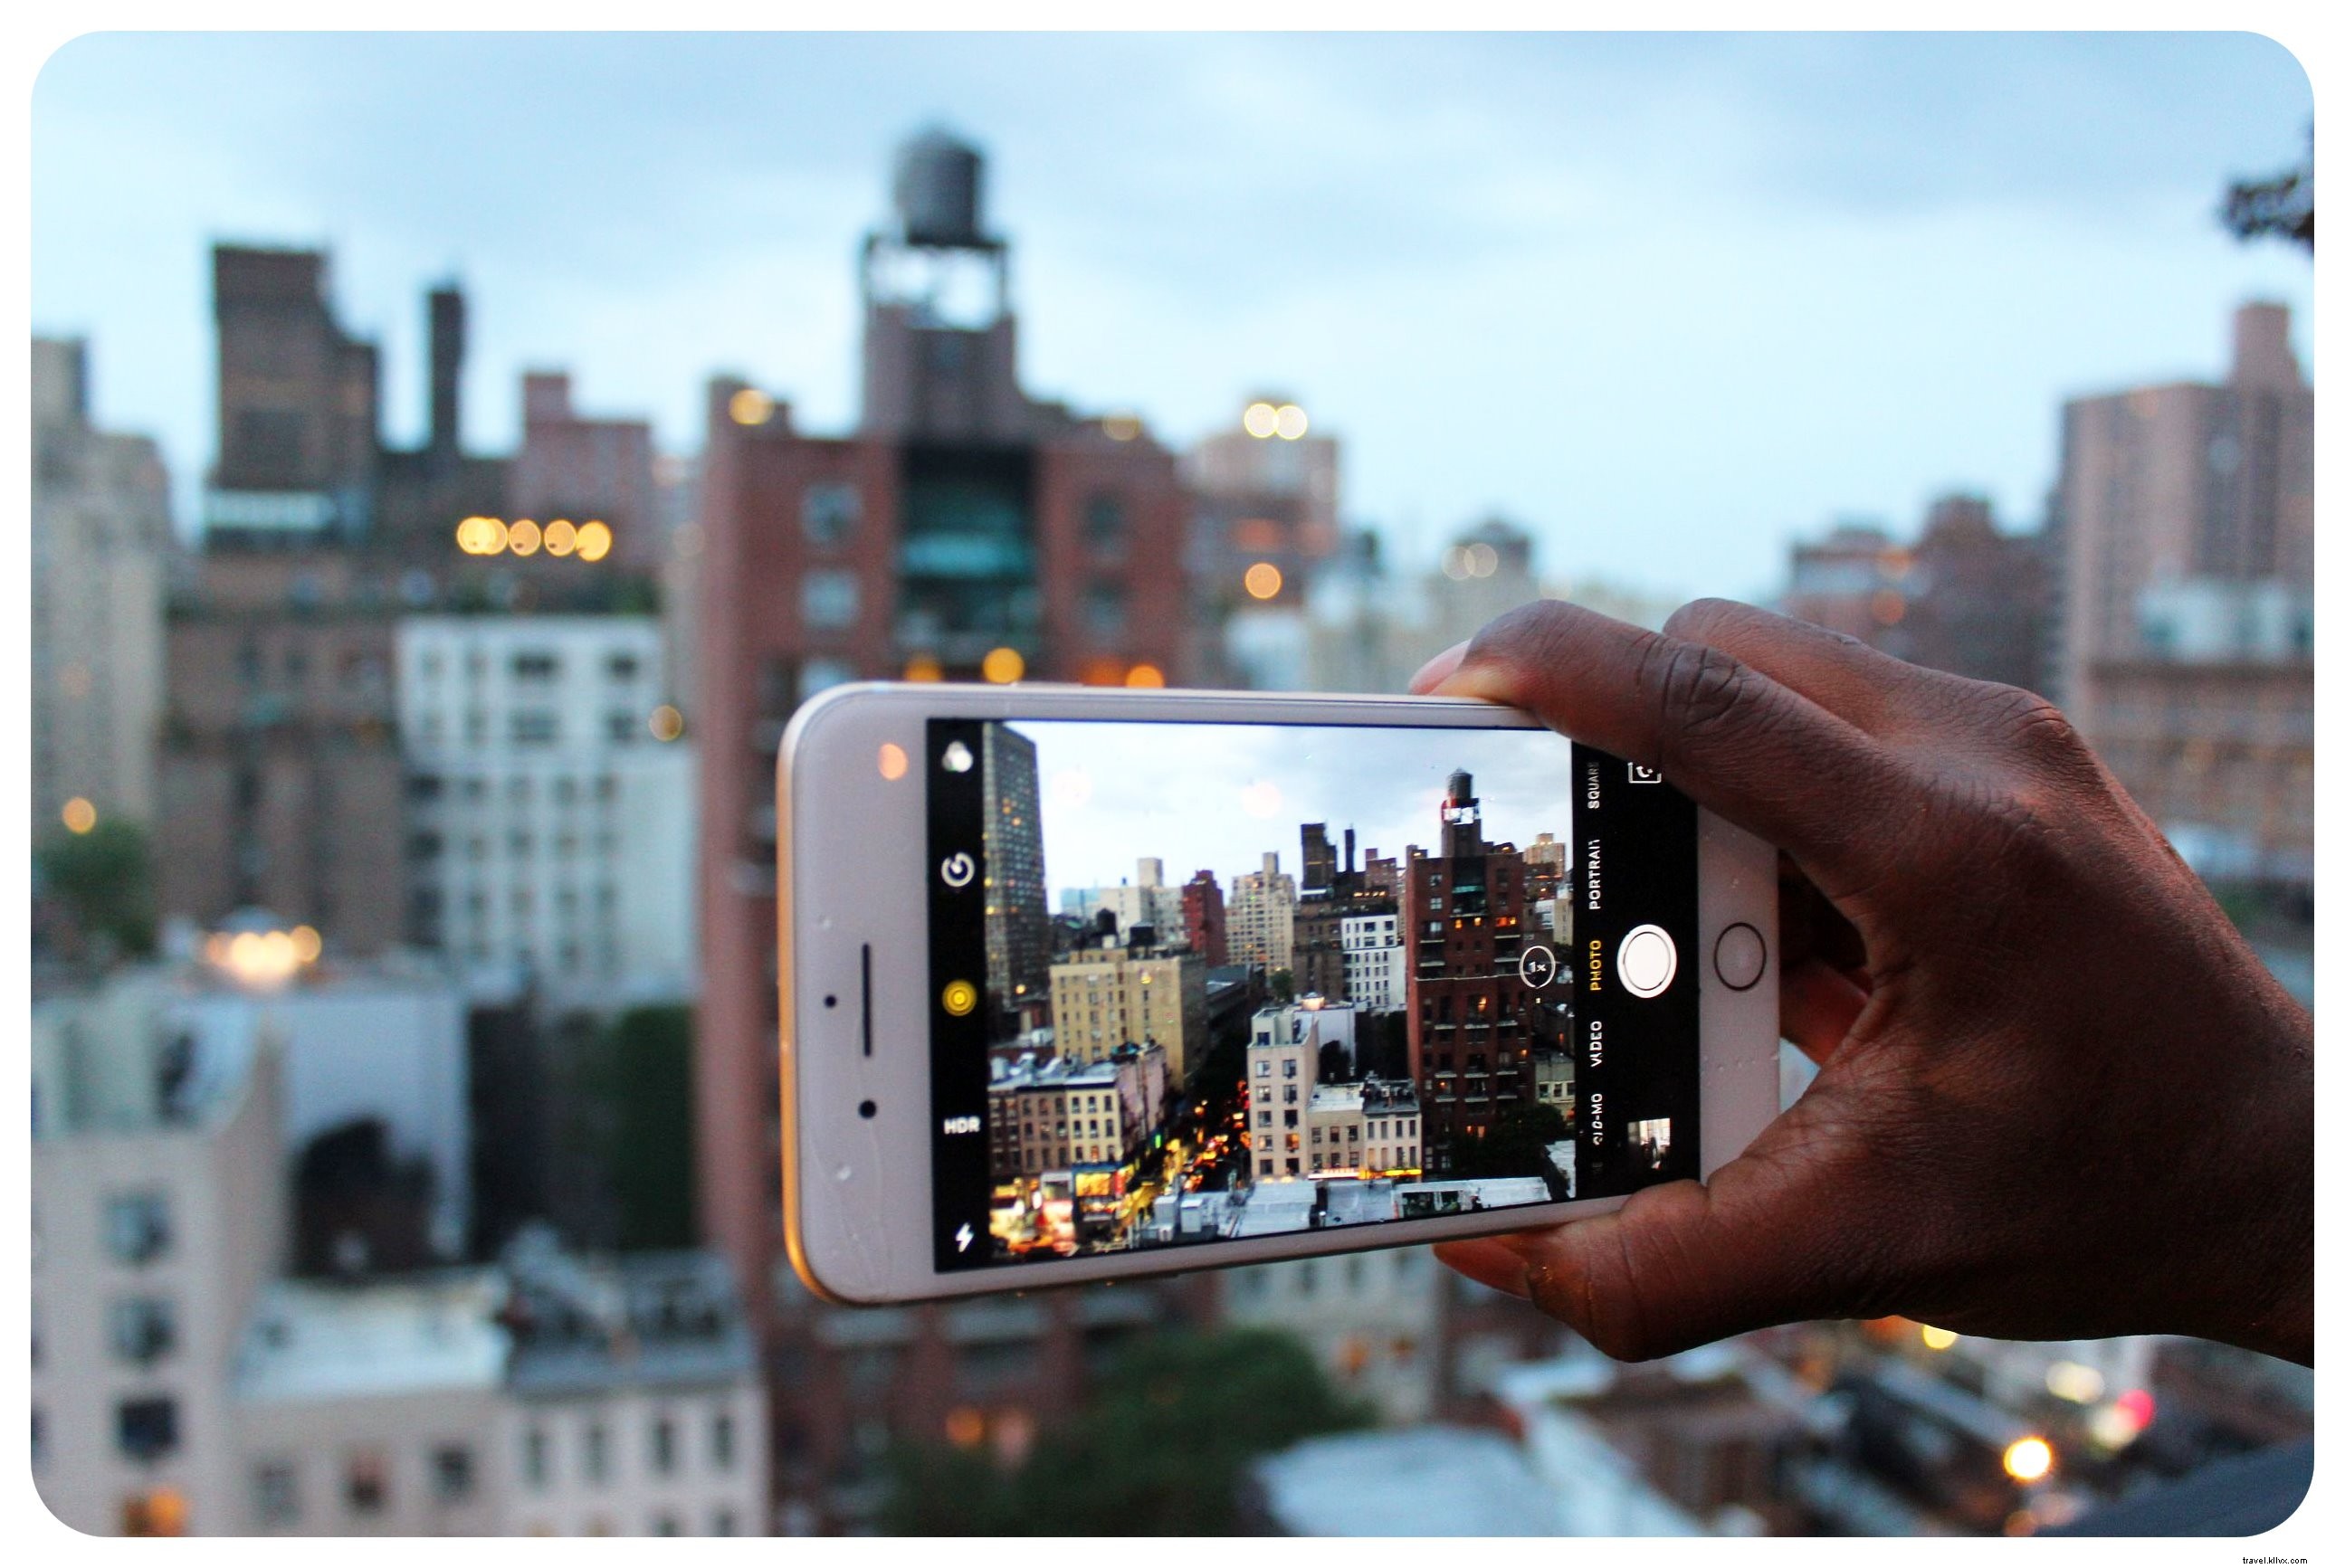
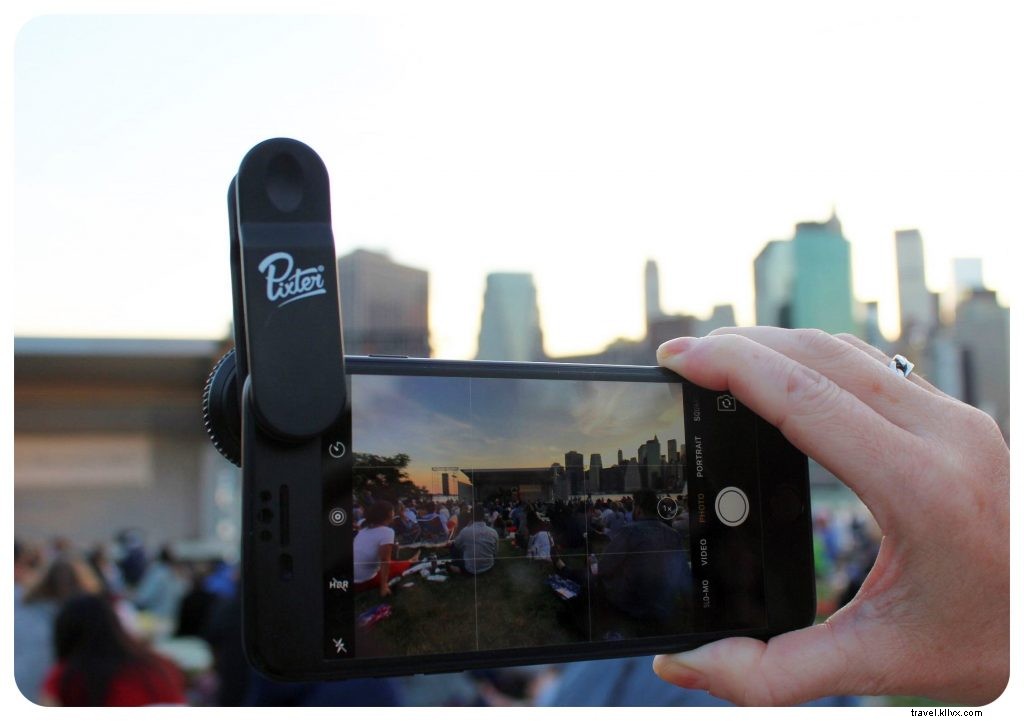
2. Invest in Essential Accessories
Enhance your iPhone with affordable gear. GorillaPod tripods start at $20, and Bluetooth remote shutters ($5–$7) let you capture group shots or selfies without strangers.
Professional add-on lenses from Pixter—macro, wide-angle, fisheye, telephoto—transform perspectives. The macro excels for close-ups of flowers or insects; wide-angle expands scenes dramatically.
 Standard iPhone shot
 Same frame with Pixter Wide-Angle Pro Lens
Compact and versatile, Pixter lenses fit all smartphones and both cameras. Tip: The Travel Pack includes a wide-angle lens and tripod.
3. Perfect Your Selfie Technique
Selfies are unavoidable in travel photography. Avoid unflattering close-ups by using selfie sticks with shutter buttons, remote shutters, wide-angle lenses, or timers for better framing of landmarks.
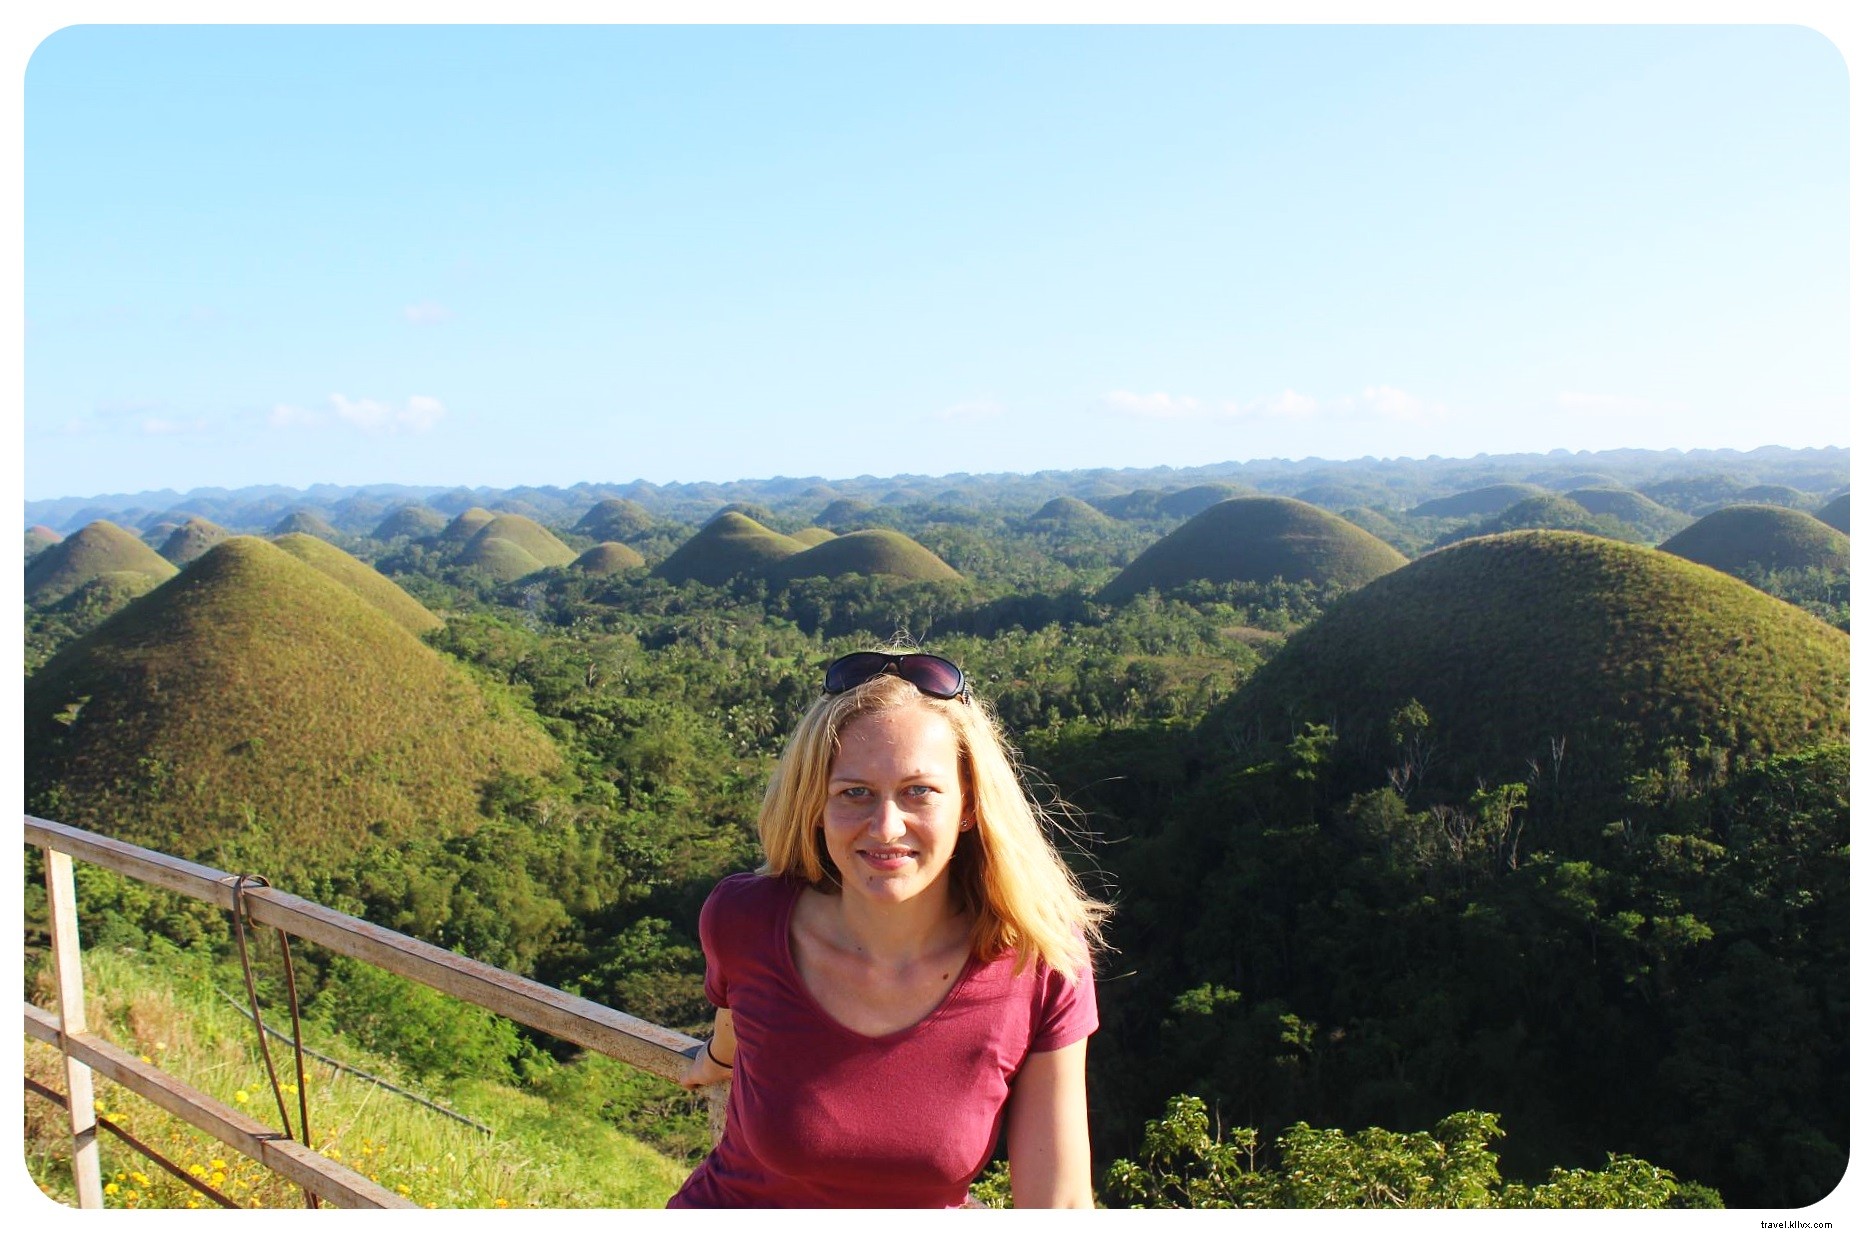 Selfie stick captures Chocolate Hills perfectly.
For advanced advice, see Kristin’s comprehensive guide on better travel selfies, including angles, setups, and accessories like magnetic mounts.
4. Experiment with Unique Angles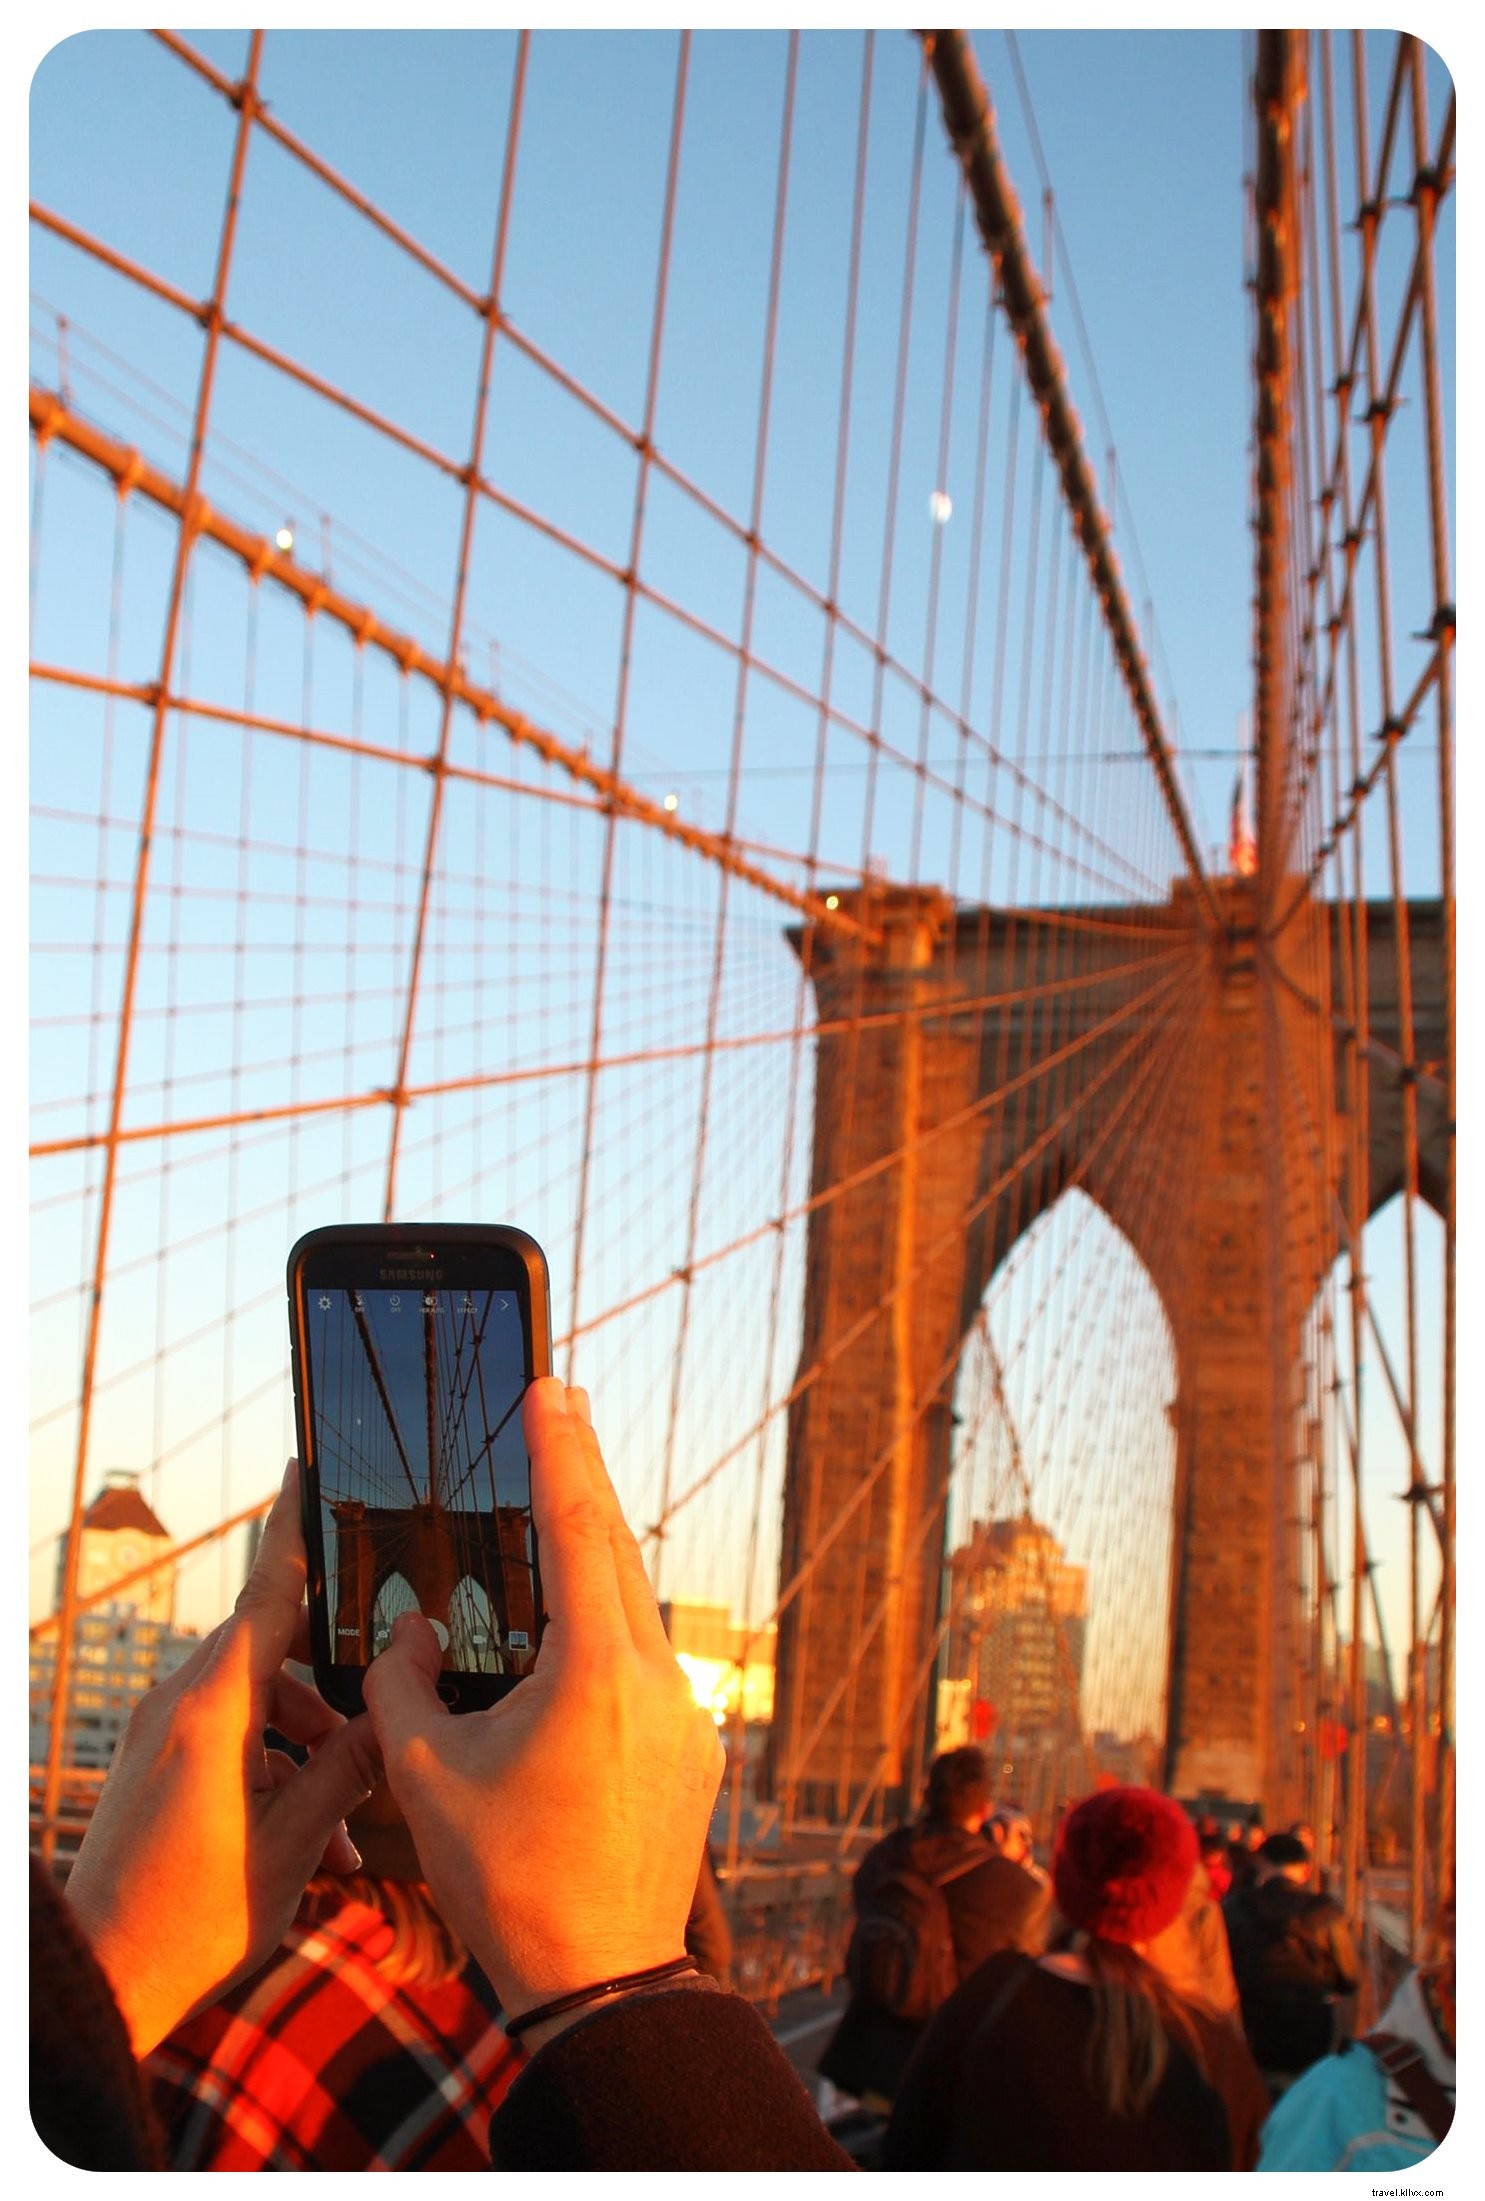
Iconic landmarks are over-photographed—stand out with fresh perspectives: low angles, overhead views, reflections, or personal props. Aim for canvas-worthy compositions.
5. Edit with Professional Apps
Refine every photo before sharing. Subtle adjustments to contrast, color, structure, and exposure yield pro results—avoid over-editing or heavy filters.
Top free apps include:
- Camera360
- Snapseed
- Lightroom
- Camerabag
- VSCO
- Camera+
Explore more options for Android or iPhone. Test apps thoroughly and combine them for best effects, like Snapseed edits with VSCO filters.
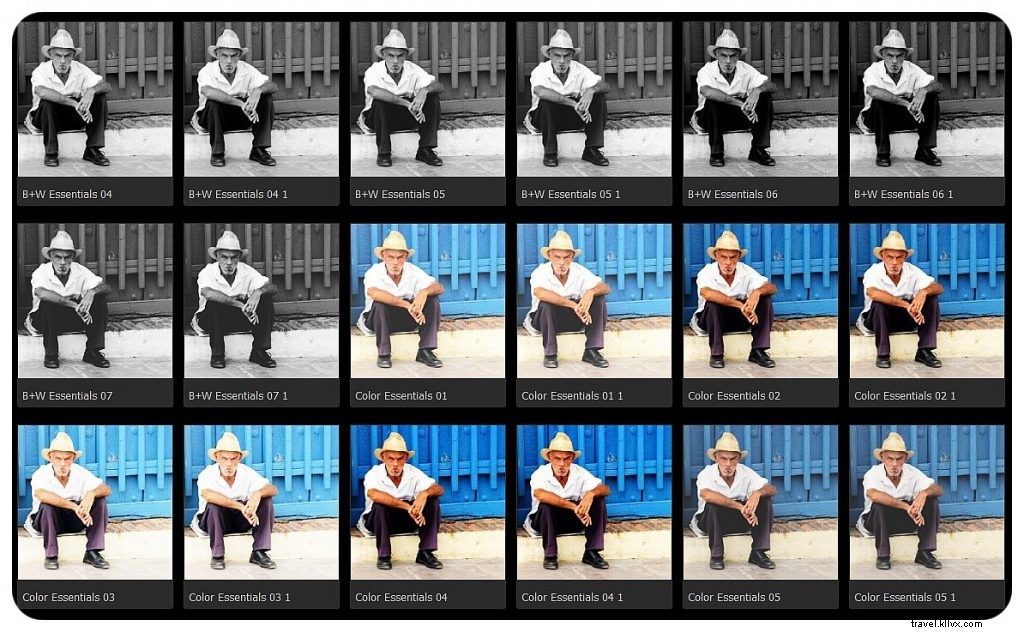 Camerabag filters add artistic flair.
Finally, Share Your Masterpieces
Selective sharing on Instagram, Flickr, or 500px builds engagement and garners feedback from pros. Aim for features like National Geographic Your Shot.
 What's your top tip or app? Share in the comments!